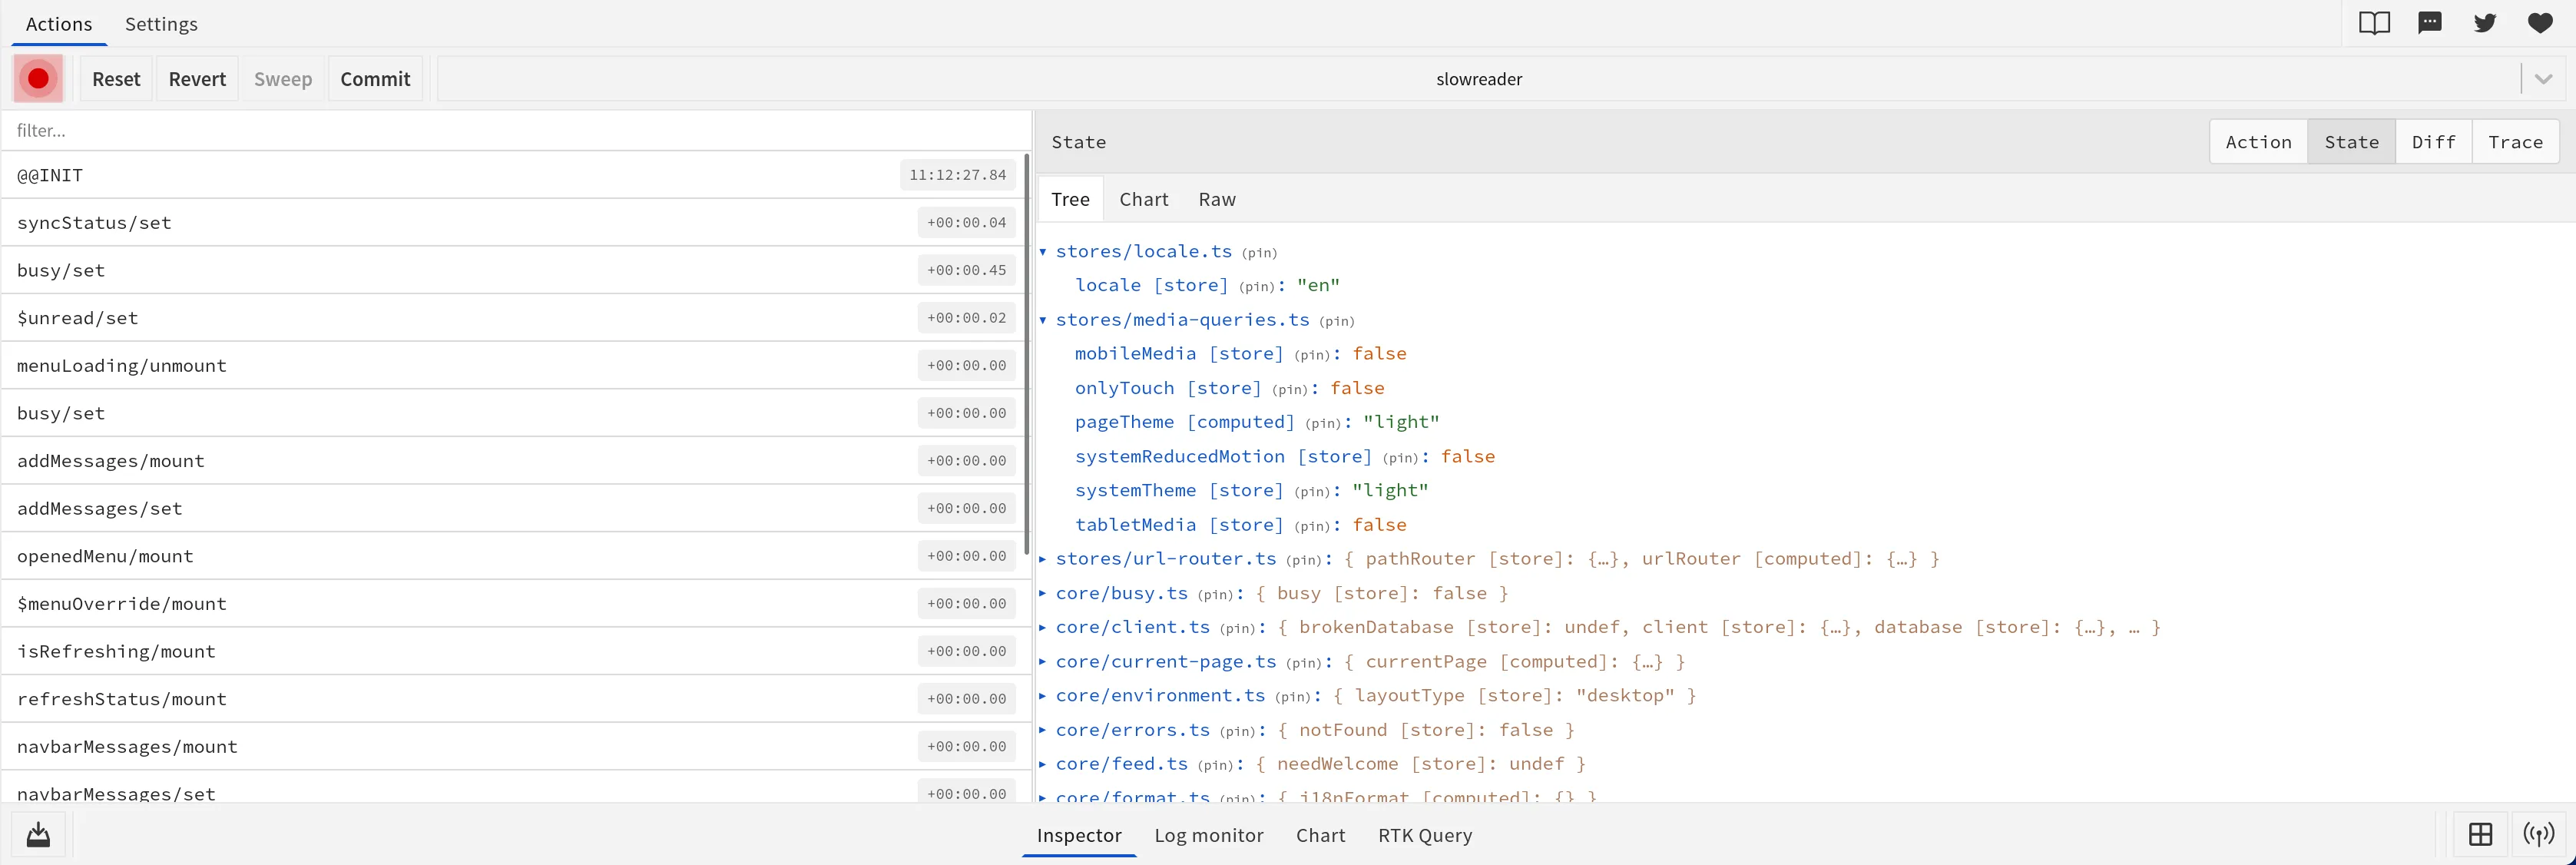
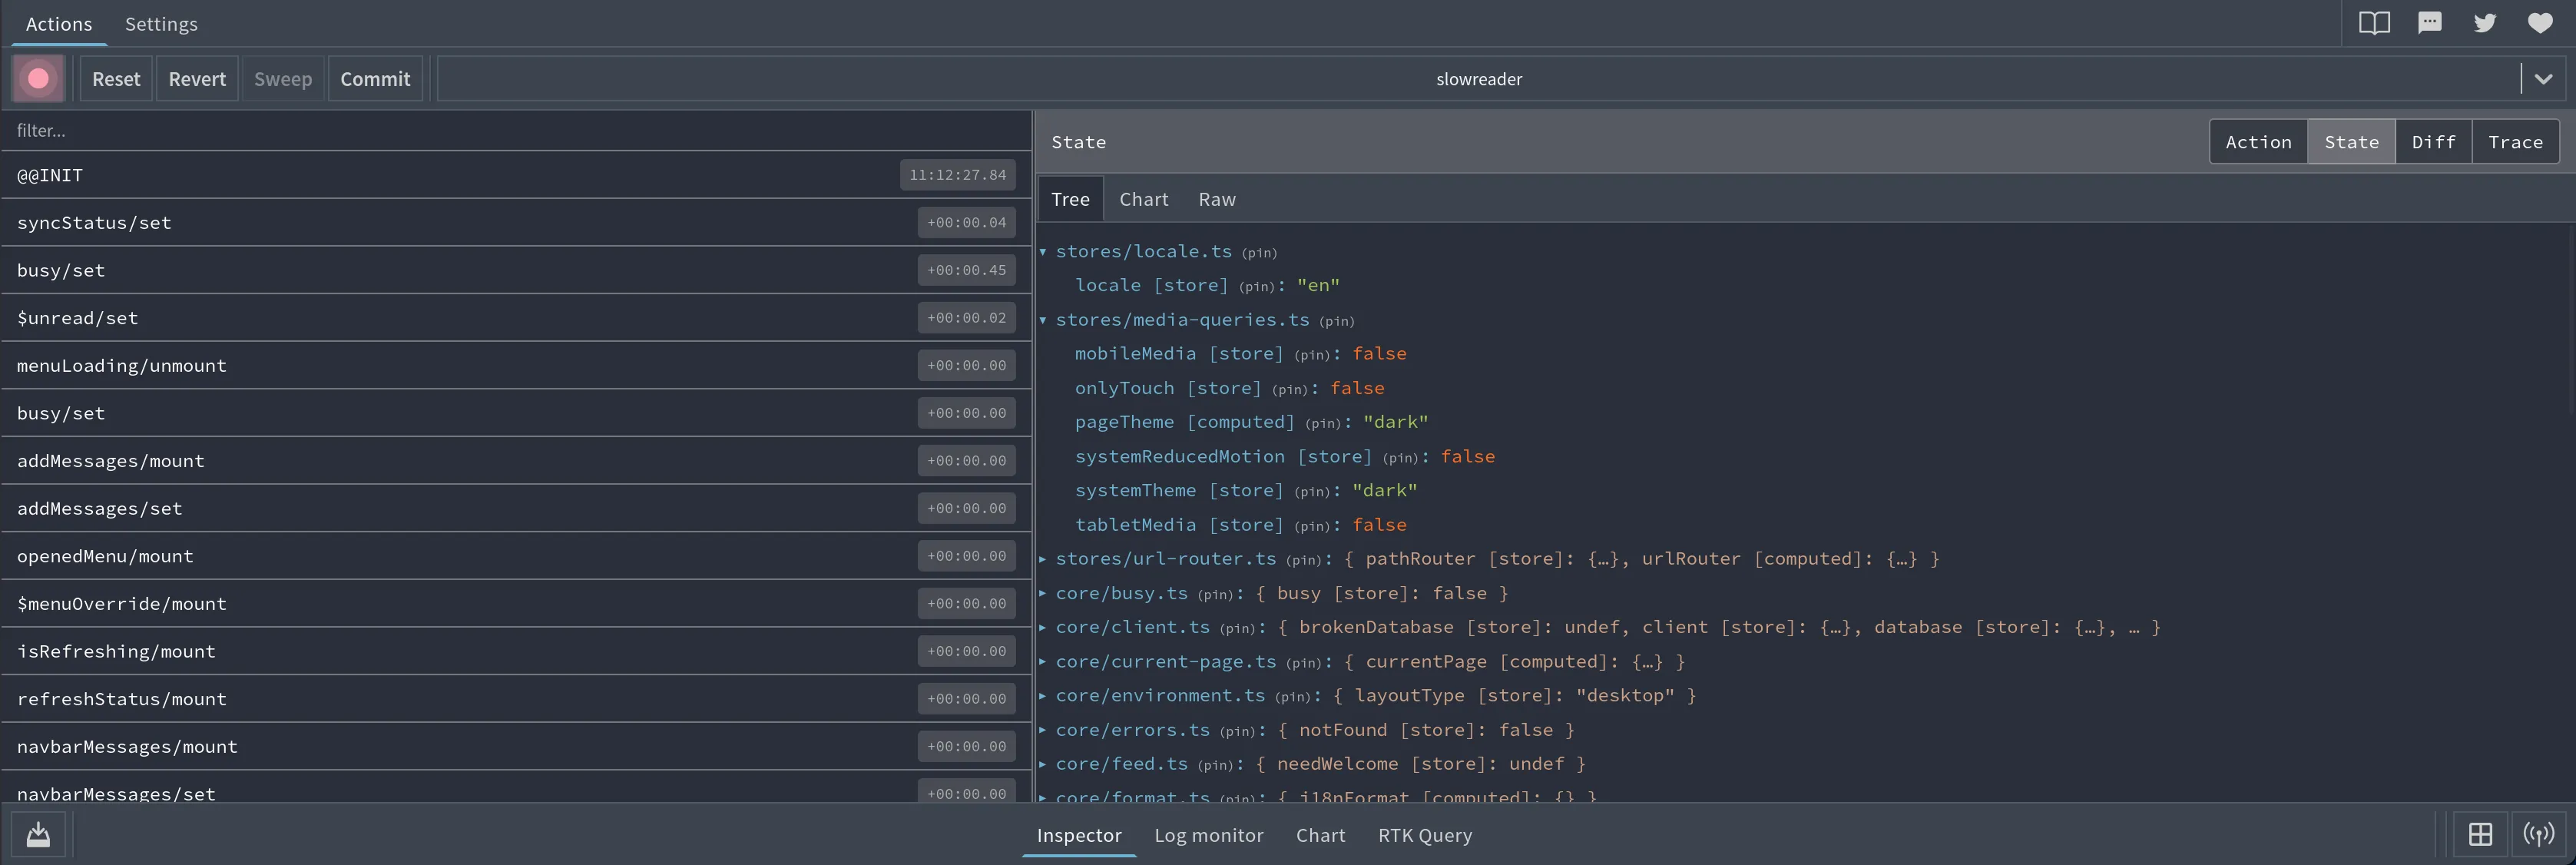
Inspect nanostores state in the Redux DevTools browser extension. A bundler plugin reads your source during development and gives each store the name you wrote for it, so every store becomes a key in one state tree and every write draws a named row in the timeline. You write no setup per store. The bridge, which is the half of this package that runs in your browser, is read-only: it never calls store.get() and never reads a getter you wrote.
How it looks
Features
- Every store is named after the binding, object key, array index or
Mapkey you wrote. - Read-only. Never calls
store.get(), never reads a getter you wrote, never mounts a store. - One timeline row per change:
$counter/set,$user/setKey:name,config.theme.$x/set. - Each store’s kind sits in its key:
[computed],[map],[deepMap],[batched]. - A store is drawn under whatever holds it: a class, a factory result, an array, a
Map. - Vite, webpack and Rspack. Dev builds only, and a production build gets three empty functions.
- Costs the page nothing while no panel is open, and the panel’s pause button works the same way.
// vite.config.ts
import { defineConfig } from "vite";
import { nanostoresDevtools } from "nanostores-devtools/vite";

export default defineConfig({
  plugins: [nanostoresDevtools()],
});
// src/main.ts
import { connectDevtools } from "nanostores-devtools";
connectDevtools({ name: "my-app" });That is the whole code. Two things besides the package have to be in place first: the Redux DevTools extension in your browser, and, on anything but Vite 8, oxc-parser. Open the Redux tab in your browser devtools and pick my-app from the dropdown.
Installation
pnpm add -D nanostores-devtoolsnpm install --save-dev nanostores-devtoolsyarn add -D nanostores-devtoolsbun add -d nanostores-devtoolsThis package ships no UI. Install the Redux DevTools extension in your browser yourself. With no extension on the page this package does nothing, logs nothing, and attaches nothing to your stores.
Only Vite, webpack and Rspack have a plugin. On any other bundler nothing is discovered for you, and you name your stores yourself with trackStores. The bridge itself works the same way there.
On webpack, on Rspack and on Vite 6 and 7, add oxc-parser too:
pnpm add -D oxc-parsernpm install --save-dev oxc-parseryarn add -D oxc-parserbun add -d oxc-parserThat is what reads your source. Vite 8 re-exports a parser the plugin can borrow, so a Vite 8 project needs nothing extra. Everywhere else the first file the plugin touches fails the build with an error naming oxc-parser.
Core concepts
A nanostores store is a plain object. Nothing about it says where it was written, what it is called, or what holds it. So the usual ways to watch one are all manual: a console.log inside $store.listen(), or @nanostores/logger, which prints changes to the console under names you pass it store by store.
nanostores-devtools does the naming for you. A bundler plugin reads your source while your dev server runs and wraps every call that makes a store, so the bridge knows what each store is called and what holds it. You get the whole app’s state at once, a diff per change, and a stack trace pointing at the line that wrote it.
One rule decides what appears: a store is tracked where your own code holds it, never where it only passed through. Held means bound to a name you wrote, sitting inside a value bound to a name you wrote, or handed back out of a call whose result is held. The bundler plugin has the four cases that follow from it, and they are the ones that surprise people.
It fits when:
- you have more than a handful of stores and want to see them together;
- you want to know which line wrote a value, not only that it changed;
- you want state a route or a code-split chunk added to appear on its own;
- you already read Redux DevTools for something else on the page.
Usage
Step 1: Add the plugin
One plugin, one subpath per bundler, the same options behind all three. This package is ESM only, so the config file holding it has to be ESM too.
Vite. Add nanostoresDevtools() from nanostores-devtools/vite, as in the block at the top of this page. The plugin loads on the dev server alone, so one config covers both builds.
webpack and Rspack. The same plugin, from their own subpath:
// webpack.config.dev.mjs
import { nanostoresDevtools } from "nanostores-devtools/webpack";
export default {
mode: "development",
plugins: [nanostoresDevtools()],
};Rspack is the same file with nanostores-devtools/rspack. Give both a development config of its own. Neither has a dev-only flag, so a shared config would carry this plugin into your release build. The plugin refuses a build whose mode is not "development", transforming nothing and printing one line saying why, so a shared config costs you a warning instead of a leak.
Step 2: Call connectDevtools()
// src/main.ts
import { connectDevtools } from "nanostores-devtools";

connectDevtools({ name: "my-app" });No import.meta.env.DEV guard and no dynamic import: on Vite, webpack and Rspack export conditions already resolve the package to an empty module in a production build. On esbuild and Rollup that takes one line of build config, see Turning it off in a production build.
Step 3: Register stores by hand
trackStores registers stores without the plugin. Use it when you would rather not instrument your source automatically, or when a store you expect is not in the tree:
// src/stores/cart.ts
import { atom, computed } from "nanostores";
import { trackStores } from "nanostores-devtools";

export const $items = atom<string[]>([]);
export const $count = computed($items, (items) => items.length);

trackStores("cart", { $items, $count });
The first argument is a group name, and it becomes the top-level key those stores sit under. untrack("cart") removes the group again. A store you pass to trackStores with the plugin on leaves the file tree and moves under your group.
If the plugin missed a store your own code holds, please open an issue with the code that creates and holds it, so we can teach the plugin to find it.
Nothing in the panel, or less than you expected? See Troubleshooting.
What you see in the panel
The top level of the tree is the home: the file path for a store the plugin found, and the group name for a store you listed by hand. Under a home, a store sits beneath whatever built it.
app/editor.ts
  Editor: { $opened [store]: 0 }                                <- a static class field
  drafts: Array { [0]: Editor {…}, [1]: Editor {…} }            <- an array, walked by index
  editorOne: Editor { $count [store]: 0, $value [store]: "" }   <- named by its binding
app/model.ts
  $busy [computed]: false
  $entries [computed]: ["", "the ", …]
  counter [store]: { (value): 0, $doubled [computed] }          <- a store that owns others
app/workspace.ts
  panel: { open [store]: false, width [store]: 320 }            <- what a factory returned
[store] marks an atom, or a store whose kind we could not read. (value) holds a store’s own value when that value cannot sit at the store’s own key, which happens when the store owns other stores or carries a note.
Every row in the timeline is named after the store it is about and the kind of change. We build that name ourselves: nanostores has no actions to name a row after.
| the row | what happened |
|---|---|
$counter/set |
an atom was written |
$user/setKey:name |
a map key was written |
$settings/setKey:theme.color |
a deepMap path was written |
$total/computed |
a computed recomputed with no write of yours open |
$counter/mount, $counter/unmount |
the store gained its first listener, or lost its last |
$late/register, $late/unregister |
stores joined the tree, or left it |
$count/hotReload |
a file ran again and its stores were rebuilt |
config.theme.$x/set |
a nested store was written, headed by its whole path |
How it works has the rest: how a store finds its owner, how two stores with one name are told apart, and what a value shows and cannot show.
Turning it off in a production build
The main entry ships a production export condition, and under it the package resolves to a module that exports the same three names with the same types and does nothing. Vite, webpack and Rspack pick that condition up on their own. esbuild needs --conditions=production and Rollup needs exportConditions: ["production"], both set once in your build config. Turning it off in a production build has the full table, and the explicit import.meta.env.DEV pattern for anyone who wants control instead of automation.